In addition to the Preset Quizzing Assignments that can be added during Class Setup, Instructors can also add Quizzing Assignments any time in Davis Advantage.
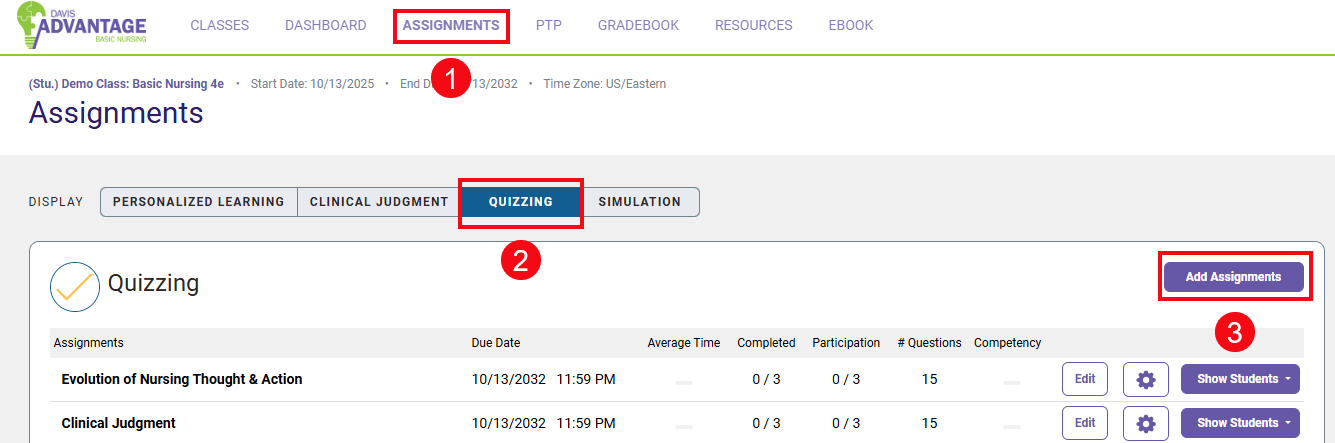
To add Quizzing Assignments, select Assignments (1) from the top navigation bar and then Quizzing (2) below. Next, select Add Assignment (3).
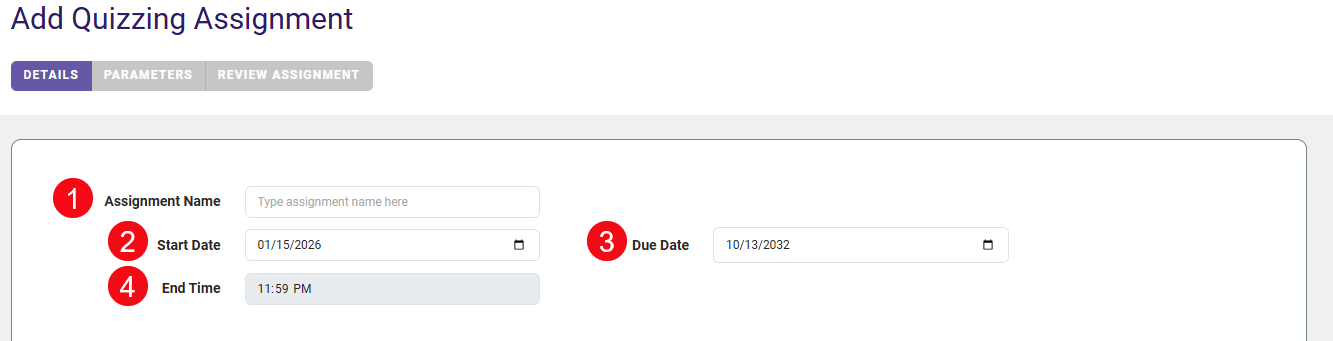
Type in an Assignment Name (1) and choose a Start Date (2) and End Date (3). Start Date will determine when the students can access the assignment (first minute of the selected day) and End Date will determine when the assignment is due for credit (default is last minute of the selected day, though this can be adjusted in Class Setup by changing the End Time (4).)
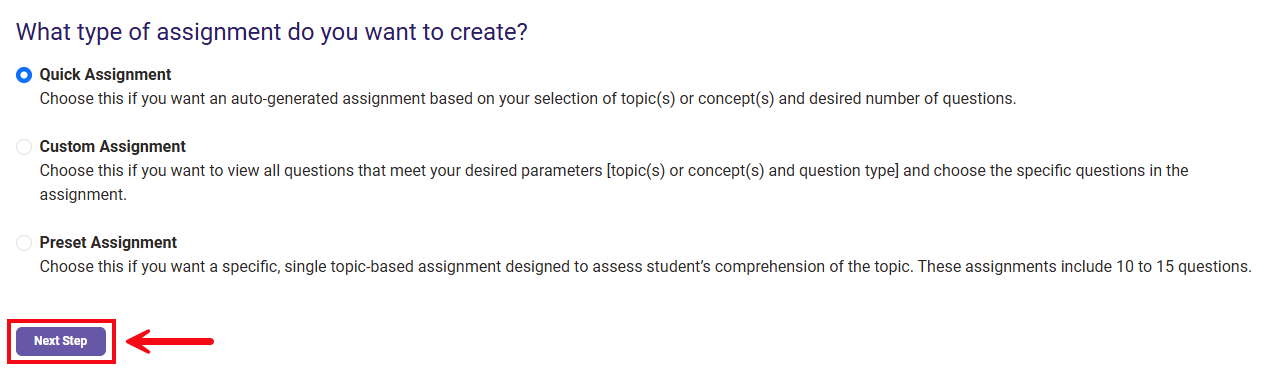
Next, select the type of Quizzing Assignment you would like to create. There are three options to choose from: Quick Assignment, Custom Assignment, and Preset Assignment. We will review each assignment type below. After you select the assignment type, click Next Step.
Quick Assignments
A Quick Assignment generates questions based upon the topic(s) and concept(s) that you would like to include, and can range between 5 and 25 questions.
To begin, select whether you'd like to organize by Course Topic or Concept.

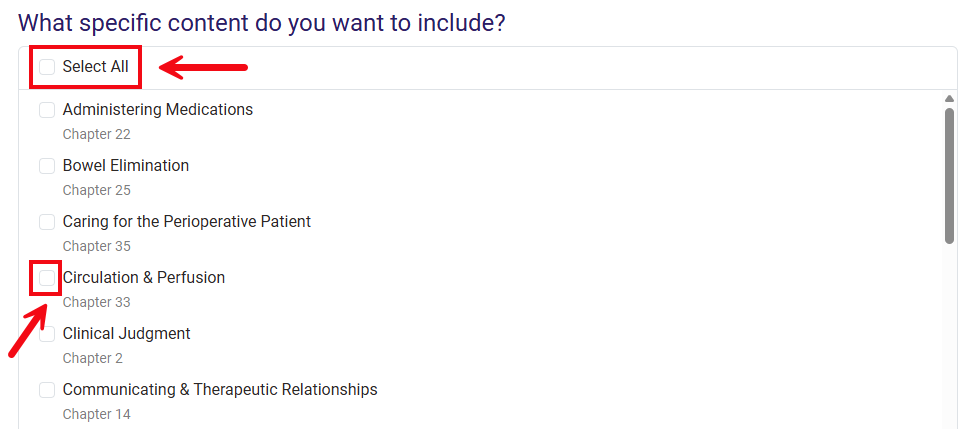
Next, select the specific topics or concepts you would like to include.
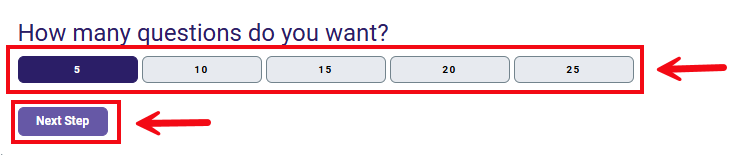
Finally, select the number of questions you would like and click Next Step.
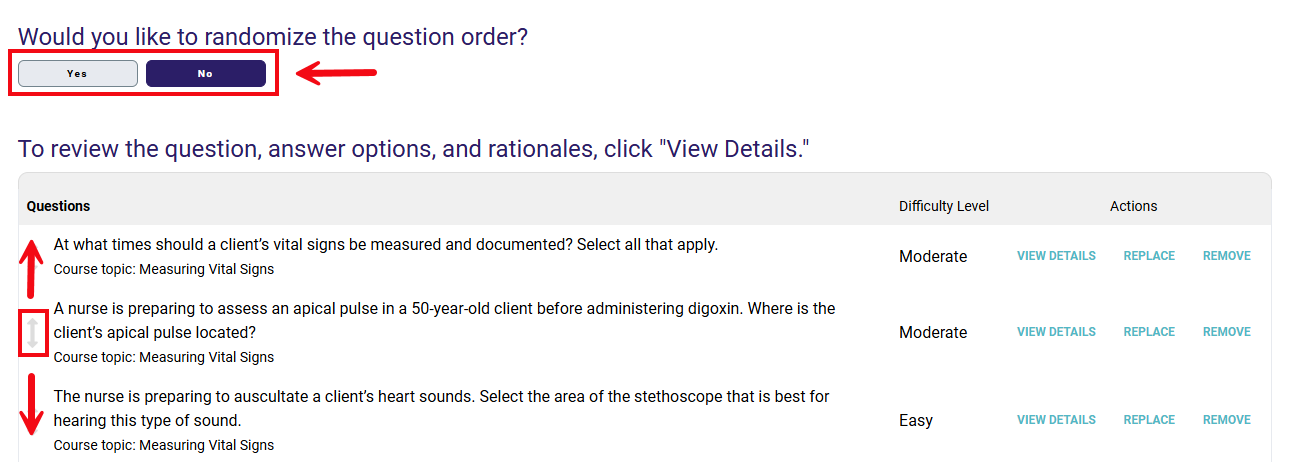
Once you have set the parameters for your Quick Assignment, the platform will generate a quiz for you with questions selected at random from within your chosen parameters. You can review these questions individually by clicking View Details (1). If you find a question you would rather not use, you can use the Replace feature (2) to generate a different question within the same topic or concept. You can also Remove questions (3) that you don't want to use to streamline your quiz to a shorter length.

Note that the question order is randomized by default, but that you can also select No if you would like questions to appear in a specific order. You can then customize the order by using the drag-and-drop arrows to the left of questions.
Once you're satisfied with the contents, click Complete Assignment to add it to the course.
Custom Assignments
Custom Quizzing Assignments allow you to hand-pick each question, rather than generating questions for you.
When you create a Custom Assignment, you will choose Course Topic or Concept.
Then, select the specific content you would like to include on the quiz.
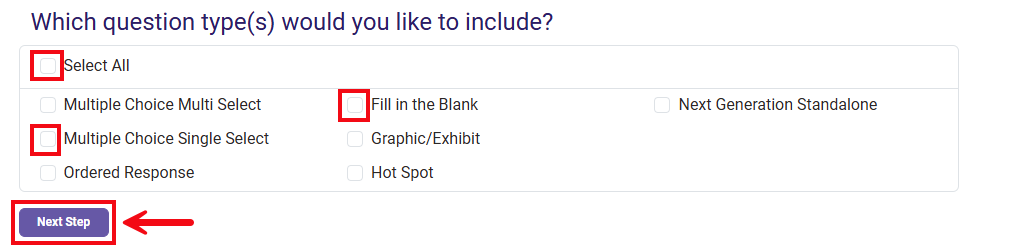
For a Custom Assignment, you can also select which question type(s) you would like to include. You can choose "Select All" to view all possible options, or narrow the pool down to one or more specific question types. Once you've chosen your content and question types, click Next Step to continue.
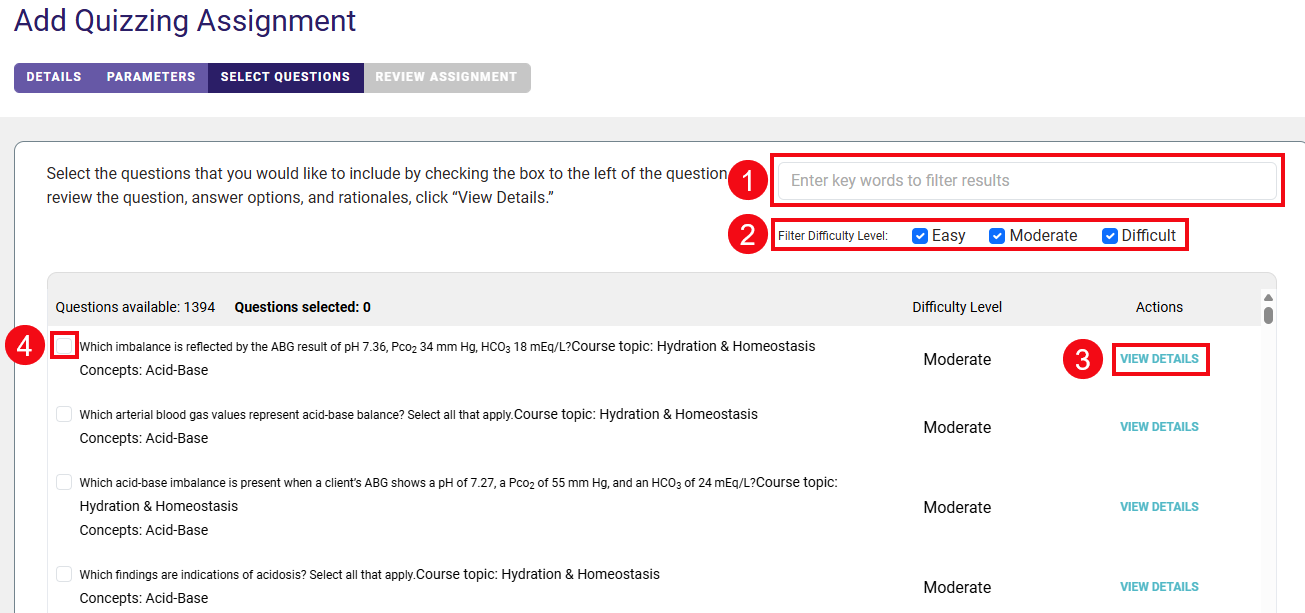
The available questions will be displayed on the next page. You can type keywords into the search bar to filter results (1). You can also Filter Difficulty Level (2) and you can View Details (3) to review rationales for each question you Select (4).
Once you've made all of your selections, click Next Step.

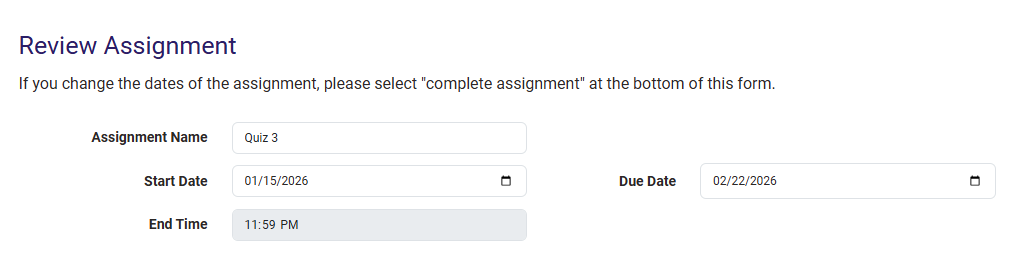
You can edit the Assignment Name, Start and End Dates, as well as the order of questions as you could previously with a Quick Assignment.
Click Complete Assignment to add it to the course.
Preset Assignments
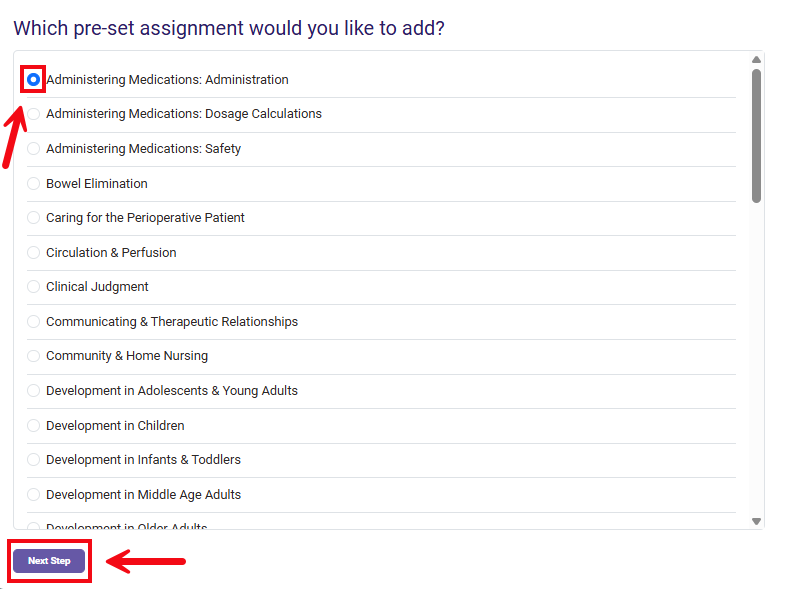
Our team has prepared a set of Preset Assignments for every topic in Davis Advantage to save instructors time. To create a Preset Assignment, simply select the topic or concept you would like to assign, then hit Next.
Our preset questions will be displayed on the following page for your review. These assignments are designed to be ready to implement at the click of a button, but you are still able to customize them if you would like to make any changes.
You can View Details (1) to review questions individually or Remove questions (2) to streamline the length of your quiz. Note that all Preset Assignments contain 10-15 questions by default.

The question order is randomized by default, but you can select No and use the drag and drop arrows to customize the order.
When you are finished, select Complete Assignment to publish the quiz.
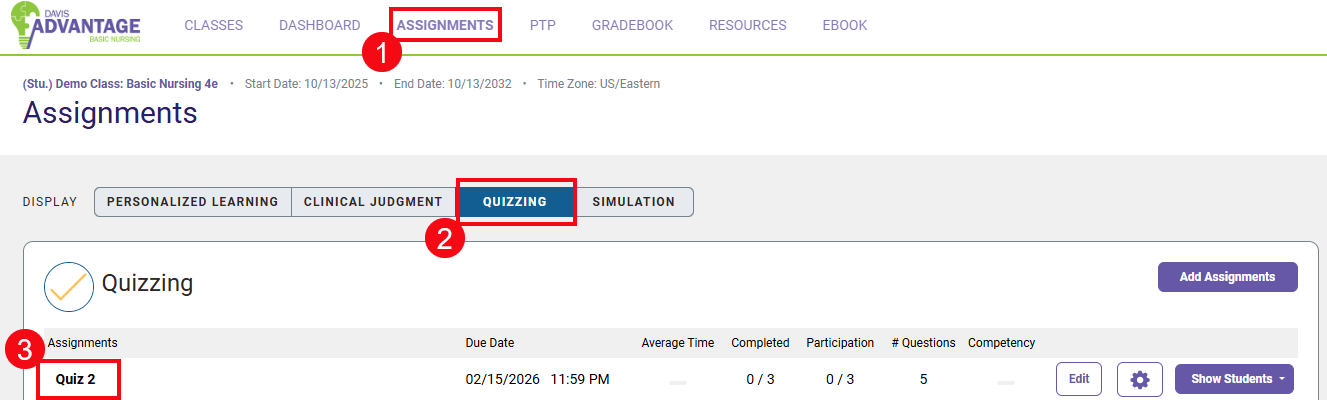
The quiz will now appear on your Assignments page (1), under the Quizzing display (2) listed by due date (3). It will become visible to students on the Start Date you selected.