Access Davis 360
This article is for Davis 360 products, which includes Dosage Calc 360, Test Success 360 and Med Term 360. While we use Dosage Calc 360 as an example, this information applies to all Davis 360 products.
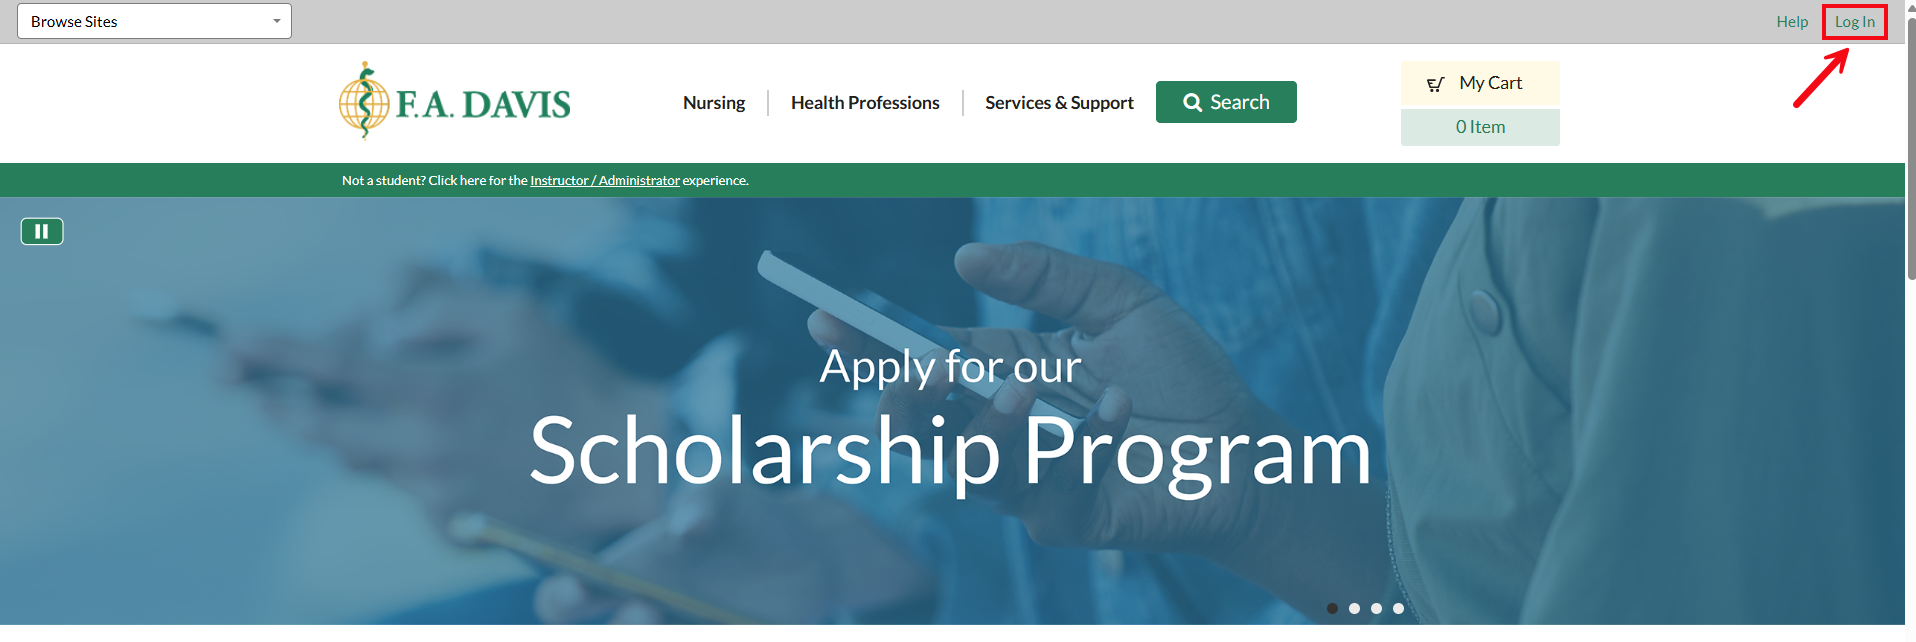
Your starting point is FADavis.com. In the top-right corner, you will see your name if you are already logged in. If you do not see your name, click Log In.
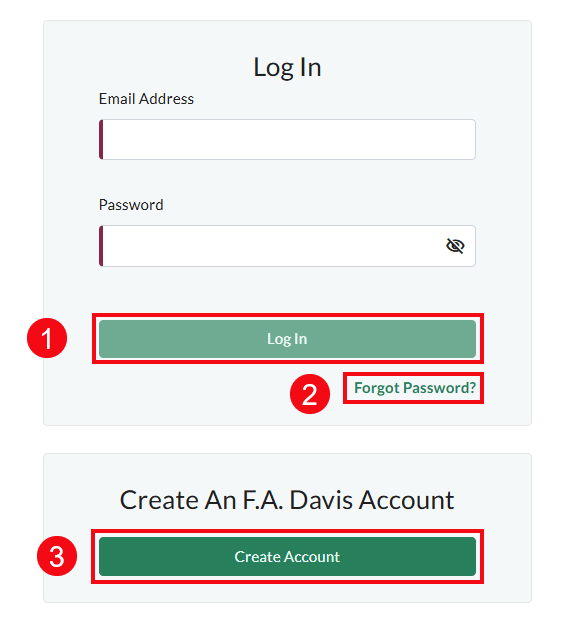
If you know your login information, enter your email and password and click Log In (1). If you know you have an account but you have forgotten your password, click Forgot Password? (2) to reset your password.
If you do not have an existing FADavis.com account, click Create Account (3) to make one.
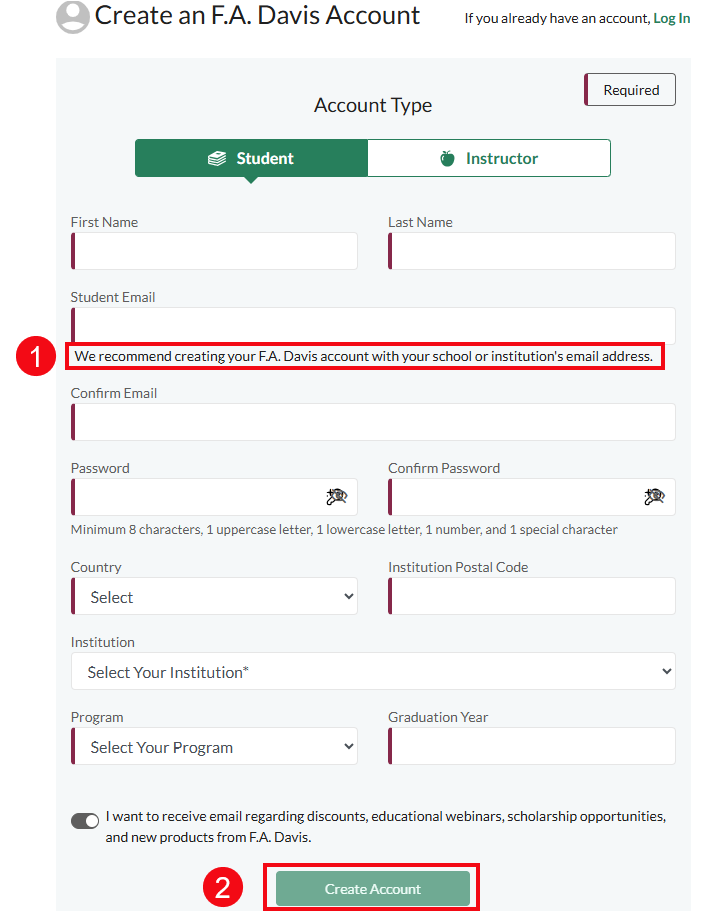
To create an account fill out all required fields. Please note that we recommend using your institutional email address (1) if possible.
Click Create Account (2) to create your account.
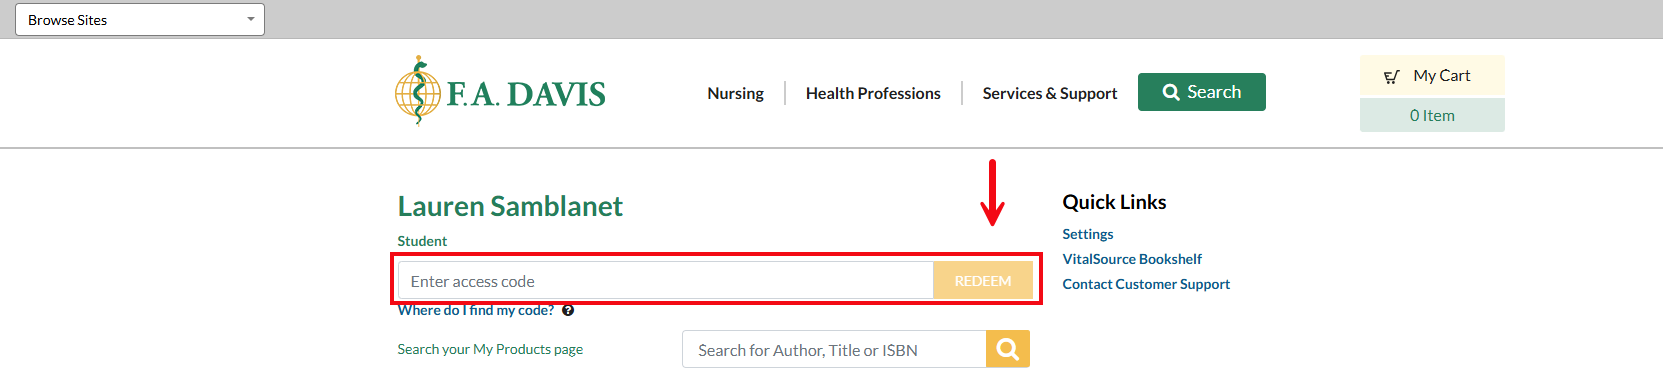
If you have purchased a new book, your Access Code will be on the inside cover. Enter your Access Code in the box that says Enter access code and click Redeem.
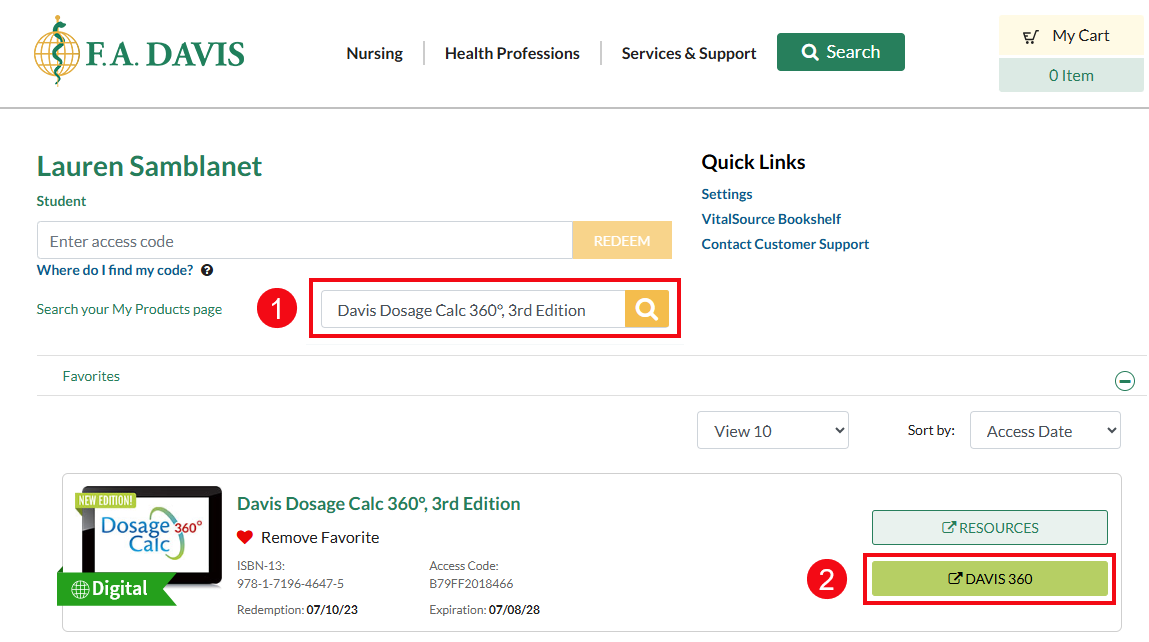
After redeeming your Access Code, Dosage Calc 360, Test Success 360 or Med Term 360 (depending which product you are using) will show up under My Products. You can search your My Products listing (1) to find it more easily.
Once you've found the relevant text, click the Davis 360 button beside the title (2).
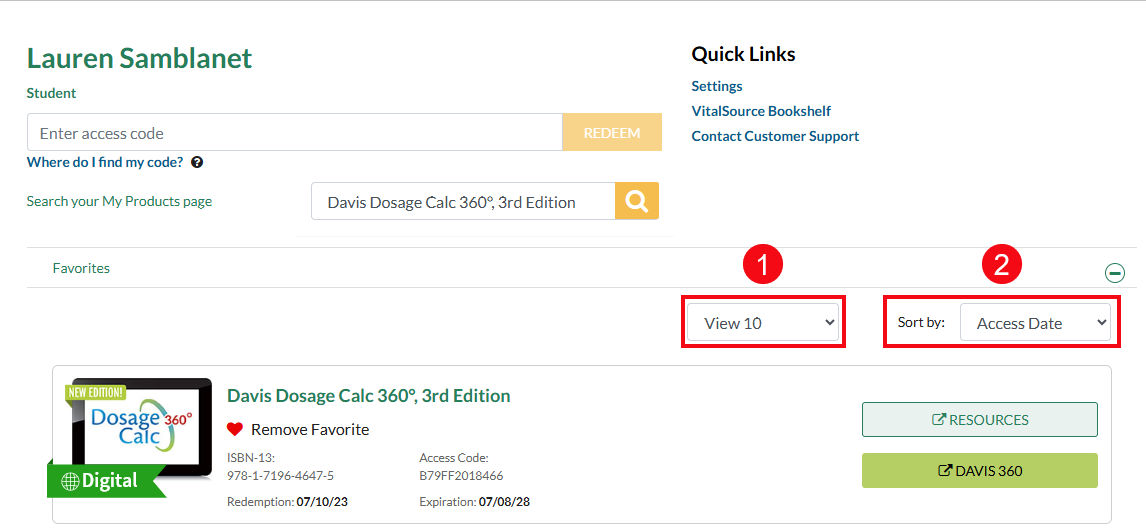
When browsing your My Products list, you can adjust the View filter (1) to display 10, 50 or all products you have access to. You can also sort by (2) Access Date (most recent), Published Date (most recent), Author’s Name (A-Z), Title, or Package.
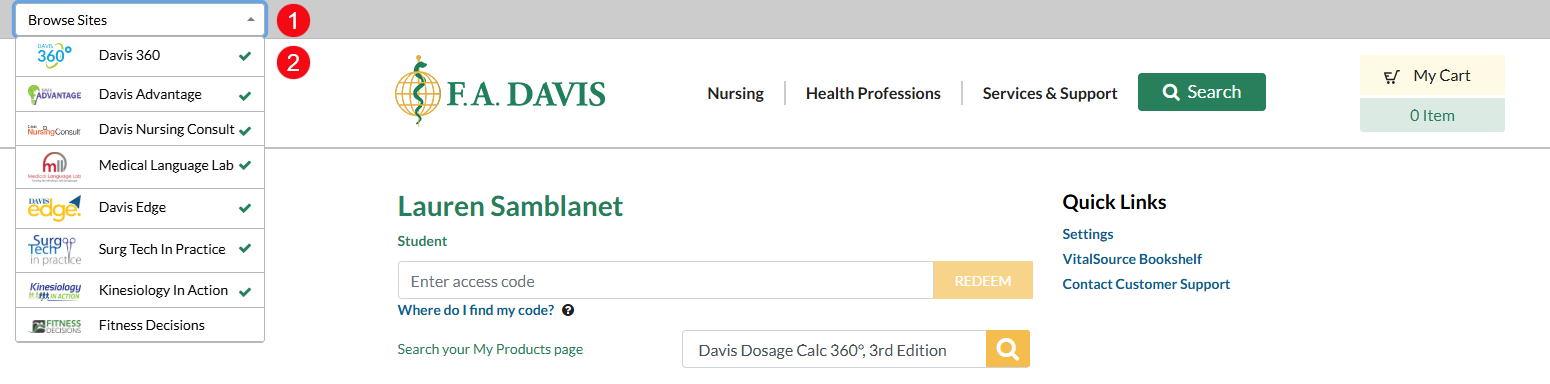
You can also access Davis 360 by using the Browse Sites dropdown menu (1) at the top-left of the page. Click Davis 360 (2).
Join a Class
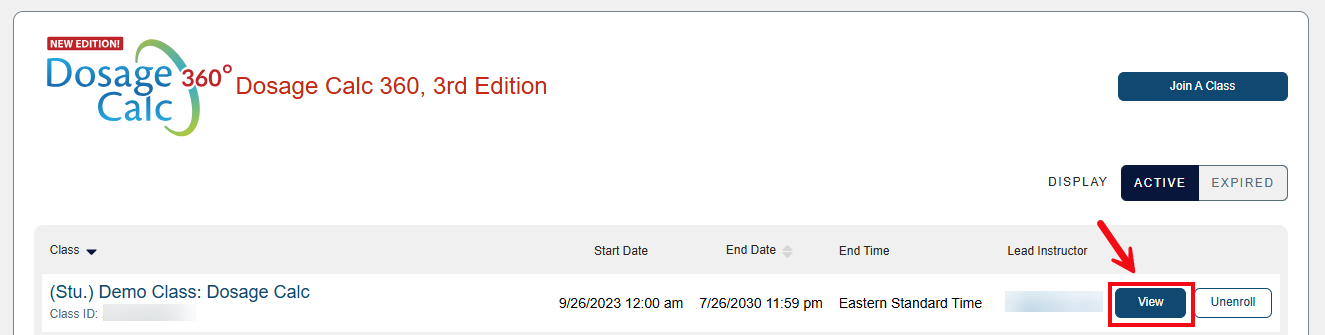
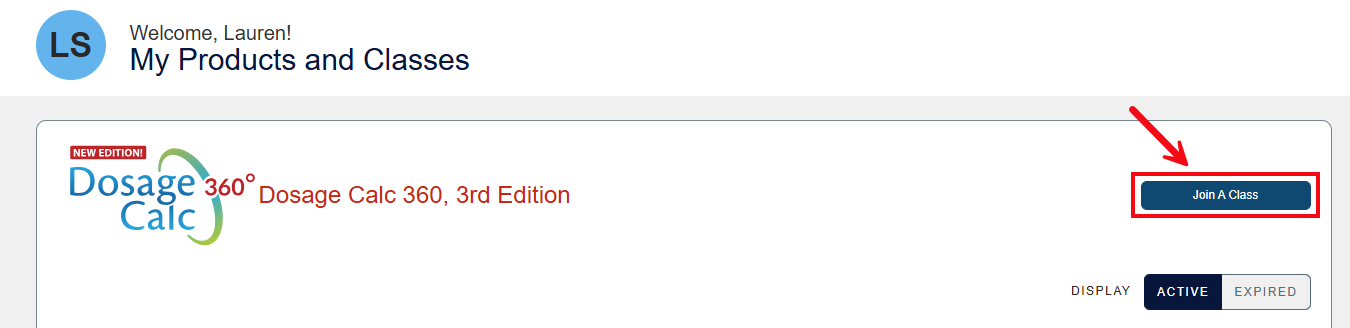
Once you have opened Davis 360, click the Join a Class button.
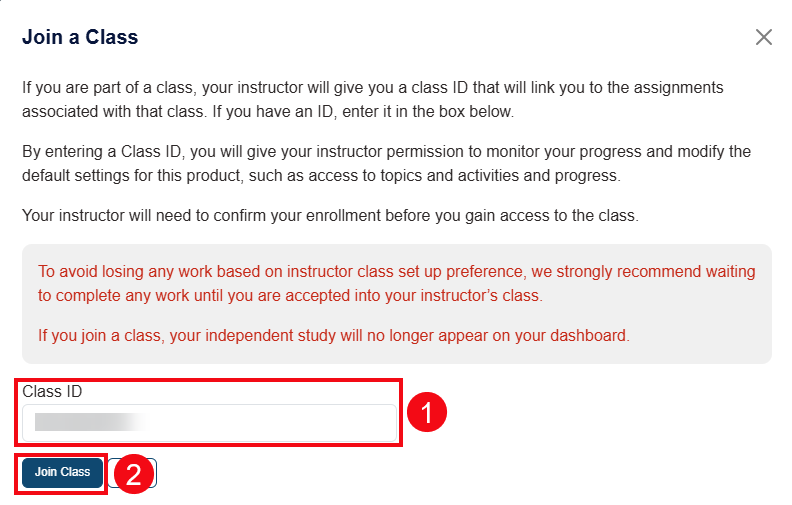
A pop-up will appear. Enter the Class ID (1) your instructor has provided and click Join a Class (2).
Once you have joined a class, click View to enter the class.