This article is for Davis 360 products, which includes Dosage Calc 360, Test Success 360 and Med Term 360. While we use Dosage Calc 360 as an example, this information applies to all Davis 360 products.
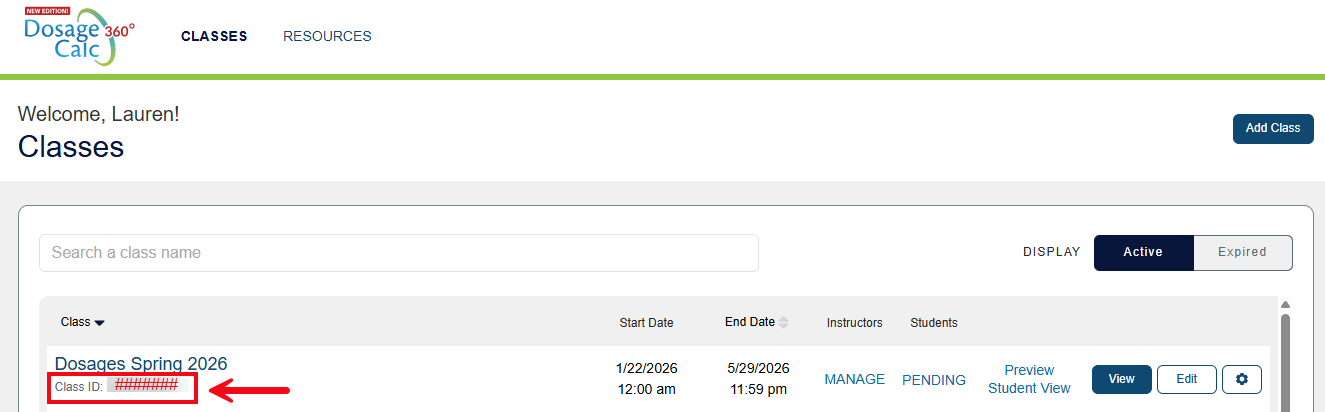
After creating your class, its class information will be displayed on the Classes page. Access your Classes page at any time by selecting the Classes link at the top of your Davis 360° page. The Classes page also displays when you first log into the platform.

Each created class will have a unique Class ID. Please remember to provide this to your students, because they will need your Class ID to enroll in your Davis 360° class! You could paste your Class ID into your LMS or syllabus.
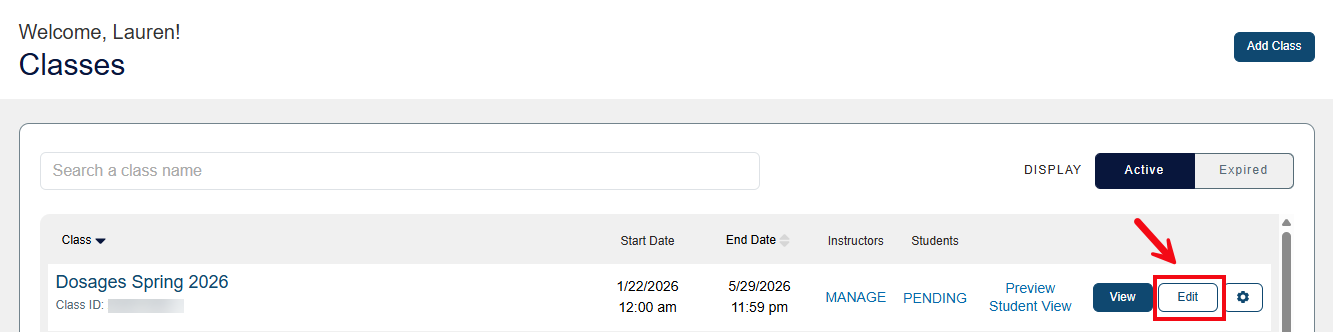
Edit Class
To make any adjustments to class settings (e.g. module content, grading rules, due dates), select the Edit button while on your Classes page.
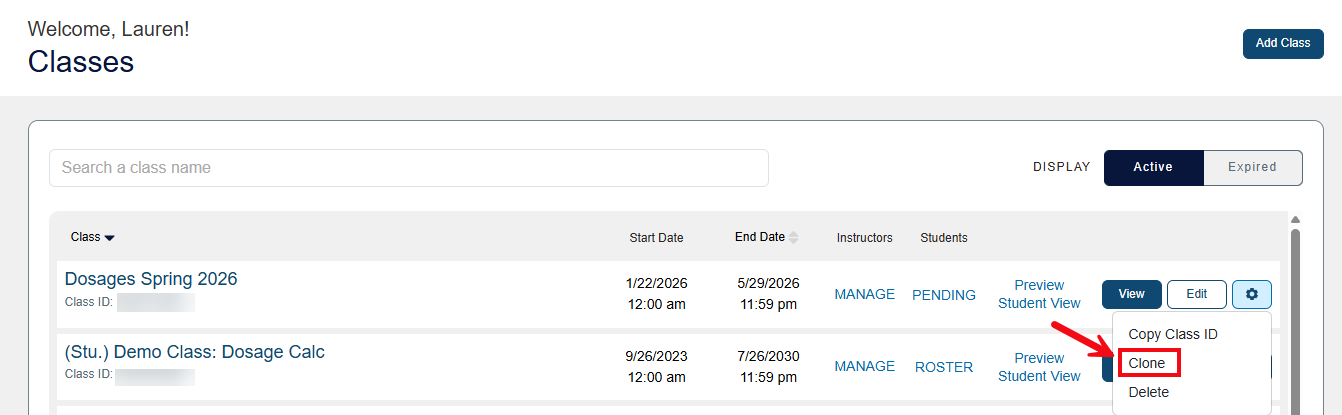
Clone Class
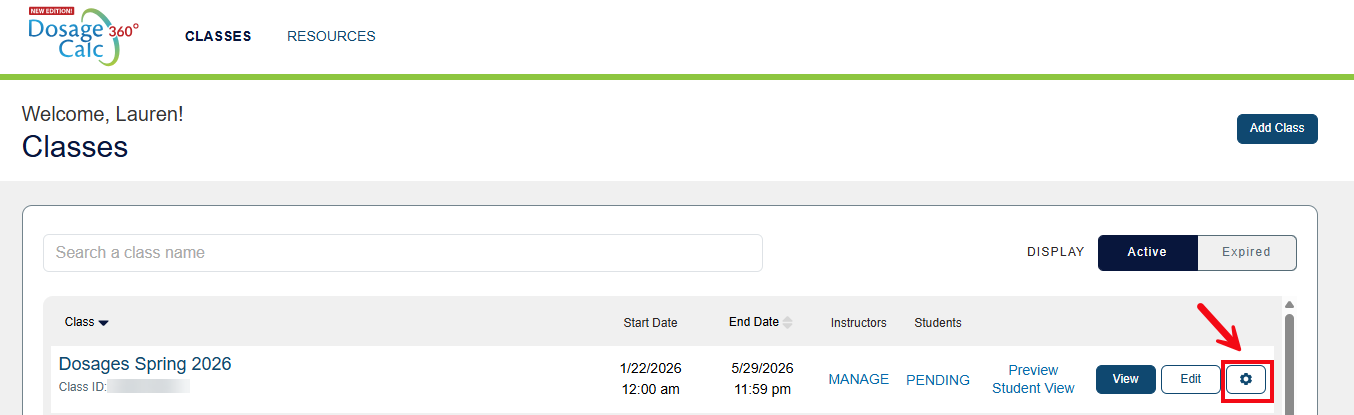
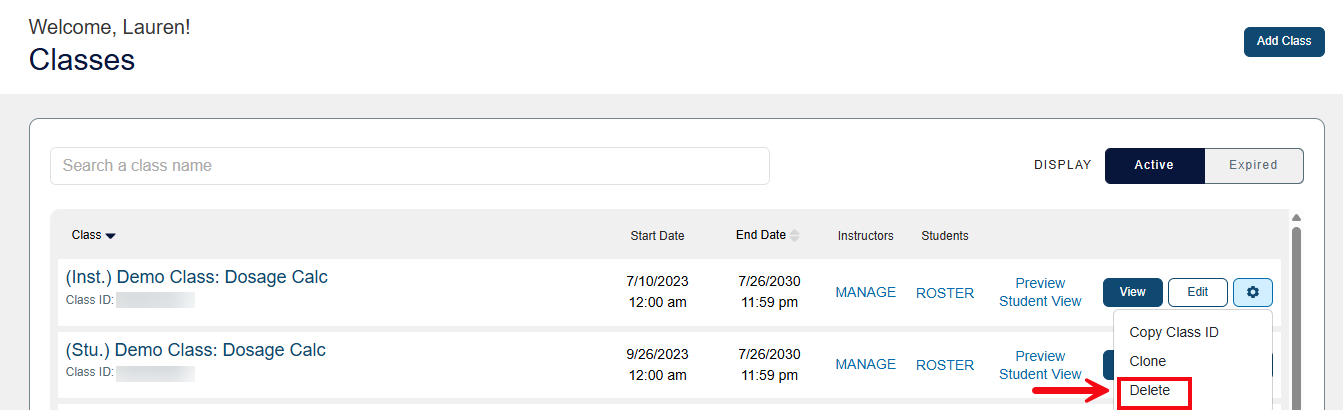
If you teach multiple sections of the same course, you may want Clone an existing class. Cloning a class will create a copy with the same customization settings as the original. To clone a class, click the Settings icon at the right-hand side of the class you want to clone.
Next, click Clone.
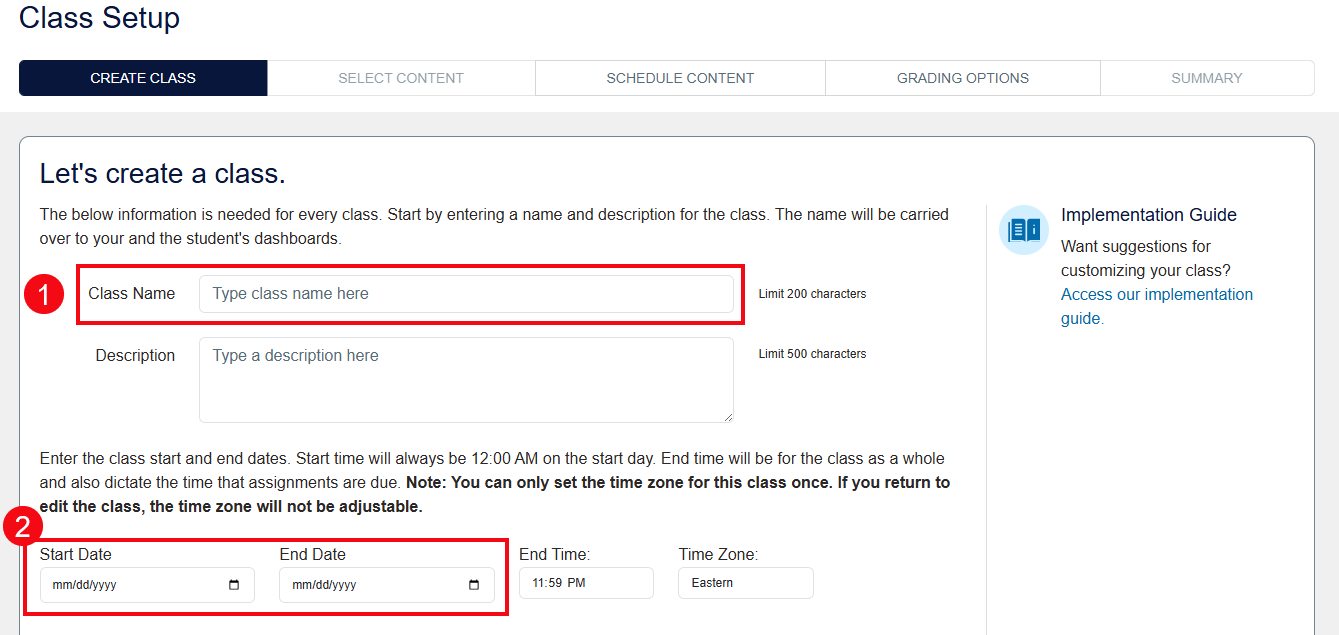
You then will be asked to enter a new Class Name (1) and set the appropriate Start/End Dates (2).
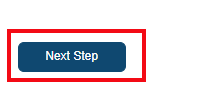
Click Next Step to save and clone the class.
Your cloned class will automatically carry over all of the course settings selected for your original course, under the Select Content, Customize Experience, and Grading Options steps in its Class Setup.
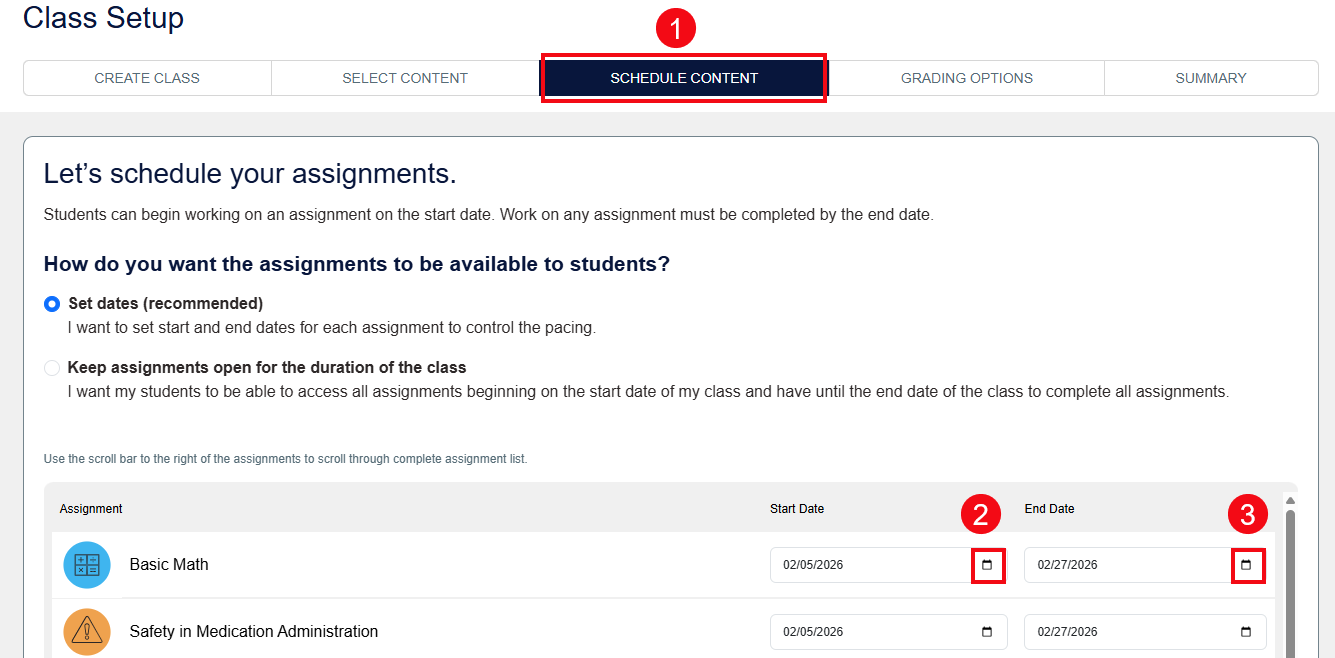
Please note that you will need to manually enter new assignment due-dates for your cloned course. To update your course's due-dates, select the Schedule Content step in your Class Setup (1). Then click the calendar icons in the Start Date (2) and End Date (3) columns by each assignment to add your dates.
Delete Class
To delete a class, click the Settings icon at the right-hand side of the class you want to delete.
Next, click the Delete option.
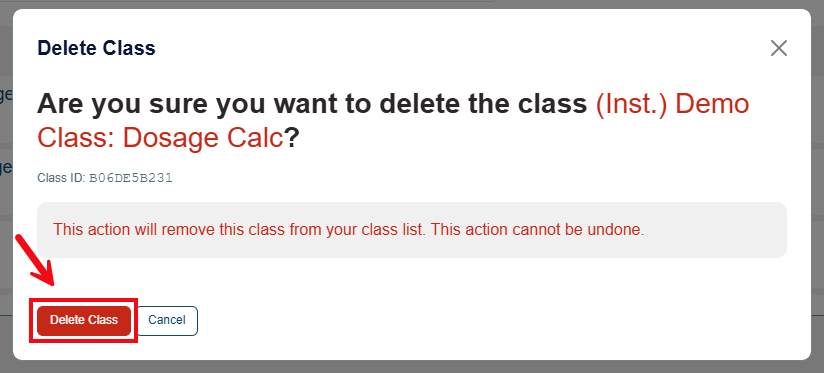
A pop-up will appear. Click the Delete Class button to delete the class.