This article is for Davis 360 products, which includes Dosage Calc 360, Test Success 360 and Med Term 360. While we use Dosage Calc 360 as an example, this information applies to all Davis 360 products.
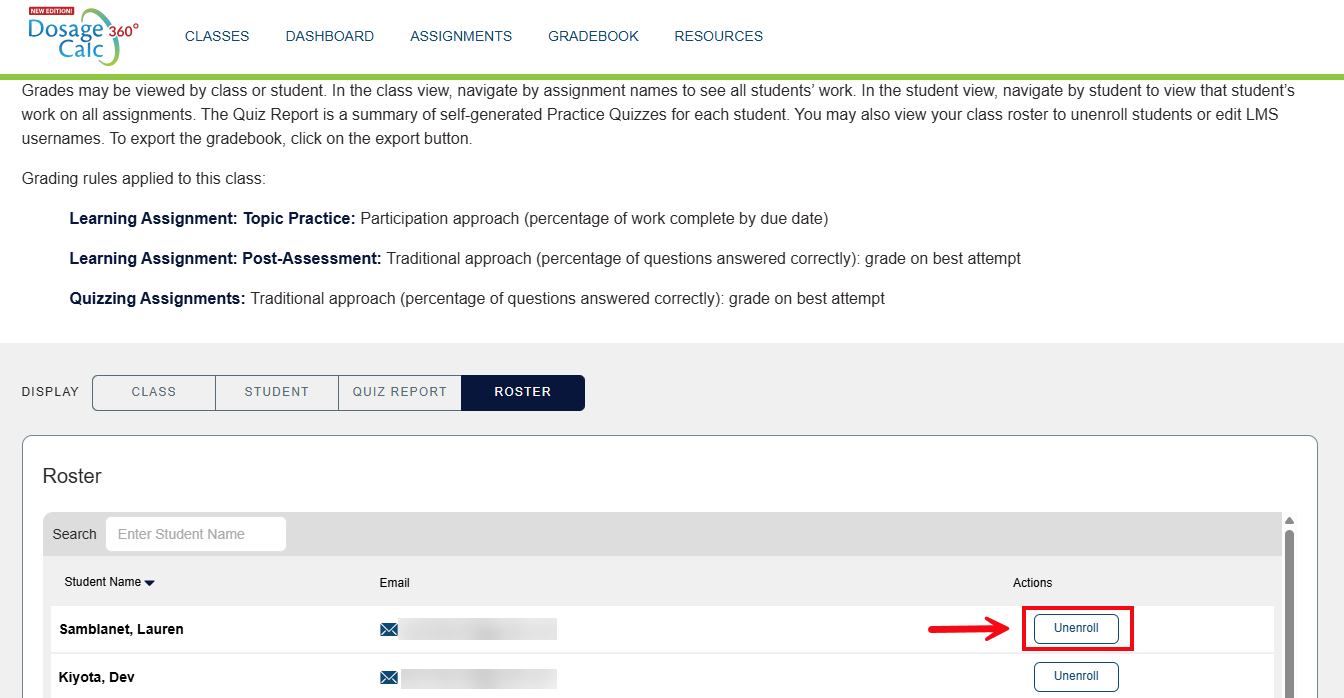
To view the list of enrolled students for a class, select the Roster link.

All enrolled students and their e-mail addresses will display in the class Roster. To remove a student from the class, select the Unenroll button.
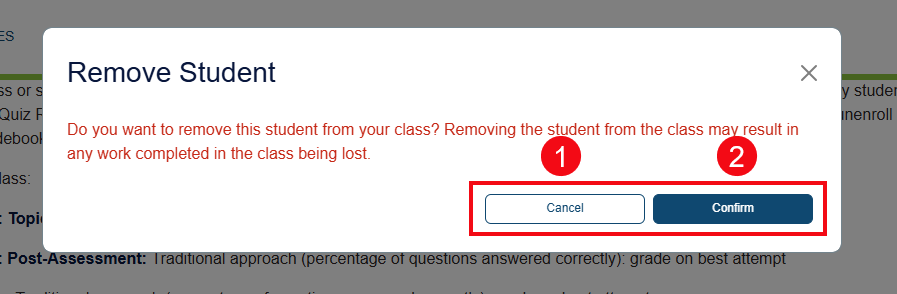
A request for confirmation message will appear. Click the Cancel button (1) to keep the student enrolled in the class. Click the Confirm button (2) to remove the student from the class.
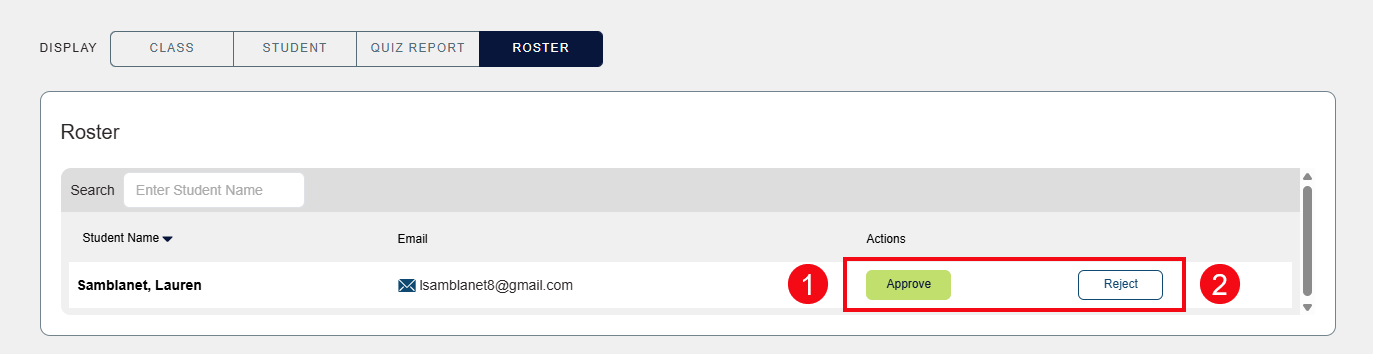
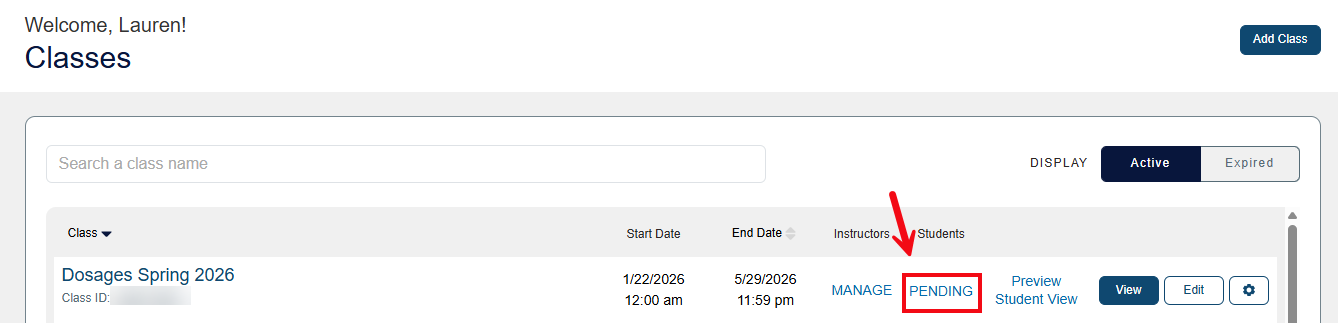
If you turned off Auto-Enroll in your class settings, students who enter your Class ID will be marked as pending until you approve or reject their enrollment. On your classes page, the Roster link will be replaced by a Pending link to signal that you have pending enrollment requests. (You will also receive an email notification for each new enrollment request.)
Select Pending to review your roster and manage enrollment requests.
Under Actions, click the Approve button (1) to accept a student's enrollment request into your course, or click the Reject button (2) to deny enrollment and remove the student's request from your roster.